
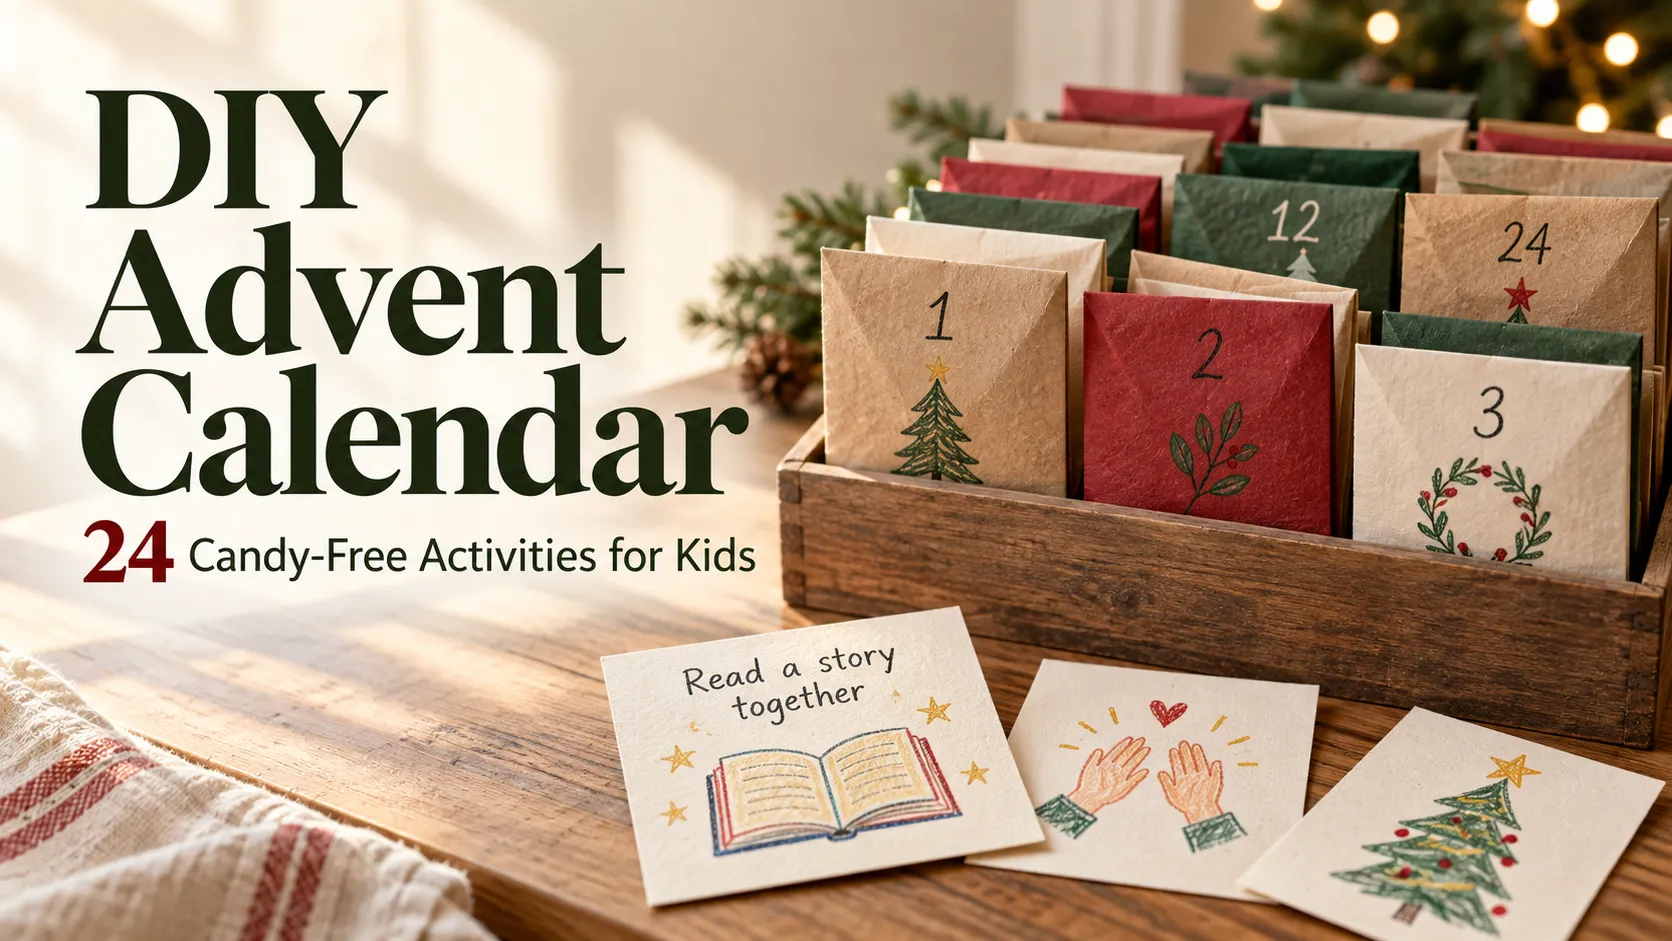
You can make a DIY advent calendar by numbering 24 envelopes or paper bags from 1 to 24 and putting an activity card inside each one. If the cards are easy to swap, the calendar can adapt to busy days and last-minute changes in plans.
An advent calendar is a way of counting down the days to Christmas, opening one small surprise each day. This version is designed to run from December 1 to December 24.
What you’ll find in this guide
- The basic DIY advent calendar: envelopes or paper bags plus activity cards
- Five simple steps for numbering the envelopes and filling them with cards
- 24 activities you can copy straight onto cards
- How to swap cards on busy days, and how siblings can share one calendar
The activities are intended for children roughly ages 3 to 12, with an adult joining in and adapting each one as needed. You can also combine this calendar with a candy-filled one.
Table of Contents
Make an advent calendar with envelopes, paper bags, and activity cards
The basic version is simple: number your envelopes or paper bags and put a card inside each one. You don’t need elaborate decorations to give your child something to look forward to opening every day.
Each card holds one activity that’s easy to do at home, such as a color hunt, drawing, a copycat game, or making up a story. All 24 activities are listed in this article. Because you can simply copy them onto paper by hand, you don’t need a printer.
If you’d like to see what goes inside before you start making anything, feel free to jump ahead to 24 activities to put in your advent calendar. You can check whether the activities suit your family first, then decide whether to make the calendar.
Plan for a December you can keep up with, not a showpiece
With handmade advent calendars, it’s easy to focus on how the finished decoration looks. But most of the real effort comes in the 24 days after it’s made: preparing what goes inside each day and adjusting around your schedule, during one of the busiest times of the year.
So this guide puts ease of use through December ahead of how polished the calendar looks. That’s why the date goes only on the outside of each envelope so the cards can be swapped, and why the activities mostly use things you already have at home.
Gather envelopes or paper bags, paper, and something to write with
If what goes inside is a paper card, you don’t need large bags or a sturdy stand. Use envelopes or paper bags you already have, arrange them in a box or basket if you like, and add decorations only if you have time and energy to spare.
| Materials & tools | Quantity & purpose |
|---|---|
| Envelopes or paper bags | 24. Either one works |
| Paper for the cards | Copy paper, drawing paper, etc. Cut to fit your envelopes or bags |
| Pens or pencils | For numbering the envelopes and writing the cards |
| Scissors | For cutting paper. An adult can handle this if needed |
| Tape or glue | Use as needed, depending on your envelopes and any decorations |
| A box or basket you already have | Holds all the envelopes together. Optional |
If you’re using A4 or US Letter paper, fold the sheet in half three times and cut along the folds to get 8 cards. Three sheets give you all 24. Before you start writing, test one card to make sure it fits in your envelopes or bags.
Start with a calendar that sits in a box or basket
You could also hang the envelopes on a wall or clip them along a string. But then you need to think about the length of the string, where to fix it, and what to do when one falls down.
So the basic version simply stands the envelopes or bags up in a box or basket. It’s easy to move, and swapping a card just means pulling out one envelope. If you’d like to decorate later, you can draw on the envelopes or add stickers.
The prep breaks down into three tasks
The work falls into three main parts:
- Making the cards: Cut the paper and copy out the 24 activities
- Numbering: Write 1 to 24 on the envelopes or paper bags
- Placing the cards: Check your family’s schedule and put the cards inside
You don’t have to do all three at once. For example, you could make the cards ahead of time and number the envelopes together with your child later.
Five steps: number the envelopes and fill them with cards
If you look at your family’s schedule before filling the envelopes, you can place the activities that need some preparation on days when they’ll fit. Keep the envelopes easy to reopen so you can swap cards later.
- Number the envelopes or paper bags from 1 to 24
Write the date only on the outside of each envelope or bag. Don’t put dates on the cards. - Make the cards
Copy one activity from the list below onto each piece of paper. - Put activities that need preparation on days with more breathing room
Activities that use paper and craft supplies, or things from around the house, go in the envelopes for weekends or days when you’ll be home earlier. - Fill the remaining days with activities that need no extra materials
These suit days with a packed schedule or when you’ll be home late. - Line the envelopes up in a box or basket, and decide together when to open them
Open one in the morning and play in the evening, or open it after dinner and play right away. Choose a time that fits your family’s routine.
Instead of gluing the envelopes shut, just fold the flap over or close it lightly with tape. That makes it easier to swap cards later.
24 activities to put in your advent calendar
The cards focus on activities that are easy to do at home: looking, talking, drawing, and copying. You don’t need to do them in numerical order; pick whichever suits the day.
The numbers in the table are for reference only and don’t correspond to dates. The “Prep type” column is a guide for sorting cards in steps 3 and 4. If December isn’t wintry where you live, adapt the winter prompts to the weather and season around you.
| No. | Card text | What you need | Prep type |
|---|---|---|---|
| 1 | Spot three red things in the room. | Nothing | No extra materials |
| 2 | Can you make a star shape with your hands? | Nothing | No extra materials |
| 3 | Choose a picture book to read together. | A book from home | Things at home |
| 4 | Draw a Christmas tree. | Paper, pens or pencils | Paper & craft supplies |
| 5 | Play the mirror game: take turns copying each other’s poses. | Nothing | No extra materials |
| 6 | Look out the window and spot one sign of winter. | Nothing | No extra materials |
| 7 | Choose a song to sing together. | Nothing | No extra materials |
| 8 | Draw a present you wish existed. | Paper, pens or pencils | Paper & craft supplies |
| 9 | Tell a story to a stuffed animal or doll. | A toy from home | Things at home |
| 10 | Act out something wintry without making a sound. | Nothing | No extra materials |
| 11 | Tear paper into pieces and make a snowy scene. | Paper, glue | Paper & craft supplies |
| 12 | Take turns sharing one fun thing about today. | Nothing | No extra materials |
| 13 | Draw something that feels warm and cozy. | Paper, pens or pencils | Paper & craft supplies |
| 14 | Show each other a favorite thing you can see from here. | Things at home | Things at home |
| 15 | Take turns copying a clapping rhythm. | Nothing | No extra materials |
| 16 | Draw a big tree and fill it with your favorite patterns. | Paper, pens or pencils | Paper & craft supplies |
| 17 | Make up a story together, one sentence each. | Nothing | No extra materials |
| 18 | Pick a game you already have and play it together. | A game or toy from home | Things at home |
| 19 | Make winter sounds with your voice or hands. | Nothing | No extra materials |
| 20 | Make a card for someone, with pictures or words. | Paper, pens or pencils | Paper & craft supplies |
| 21 | Choose a name for your pretend shop, then take turns being the shopkeeper and customer. | Things at home (optional) | Things at home |
| 22 | Make a picture together: each person adds something they like. | Paper, pens or pencils | Paper & craft supplies |
| 23 | Look back at your cards and pick one to play again. | Cards you’ve already used | No extra materials (needs used cards) |
| 24 | Decide together on one thing your family will enjoy today. | Depends on what you choose | Depends on the activity |
By prep type, there are 11 cards with no extra materials, 7 that use paper and craft supplies, 5 that use things at home, and 1 that depends on the activity. In busy weeks, adding more of the no-extra-materials cards keeps the preparation from piling up all at once.
No.23 asks your child to choose from cards they’ve already done, so put it in an envelope after you’ve been using the calendar for a few days, and keep the opened cards in a separate bag or box. No.24 involves deciding something together as a family, so it suits a day with a little more time.
The cards aren’t a reward
Opening an envelope isn’t a reward for good behavior. It’s a small moment to enjoy together in the lead-up to Christmas.
Even after a difficult day, you can still open that day’s envelope together.
If your child isn’t sure how to start, offering one example as you read the card can help.
- No.10: Become a snowman, or shiver as if you’re cold
- No.19: Make a “whoosh” like the wind, or a “crunch” like stepping on snow
For song and rhythm activities like No.7 and No.15, if you’re stuck for a song, see our guide to Christmas action songs and fingerplays (in Japanese).

You don’t need to prepare all 24 cards at once. You can start by filling the first few days’ envelopes and add the rest over the weekend.
Use the same cards for different ages
Even with the same card, changing how much the adult helps and what you leave to the child can make it easier for children of different ages to join in.
| Activity | Ideas for preschoolers | Ideas for school-age children |
|---|---|---|
| Color hunt | Search together with an adult; it’s fine to find fewer items | Your child chooses the next color to look for |
| Drawing & card-making | Express ideas with lines and colors, and an adult adds words | Come up with patterns, descriptions, or messages on their own |
| Copying & rhythm | An adult demonstrates one move at a time | Your child becomes the one setting the challenge |
| Storytelling | Start with a single word while looking at a picture or toy | Talk through the characters and ending to build the story out |
| Pretend play | Enjoy one simple back-and-forth exchange | Think up the shop name, roles, and items for sale |
This table isn’t a benchmark for what children of a given age should be able to do. Treat it as a set of examples to make joining in easier.
Older children may find some of the card wording a bit young for them. In that case, letting them take on the role of challenge-setter, host, or planner who picks the next activity can change how they approach the same card.
Swap cards on busy days, and adapt the calendar to your family
You don’t have to stick to the plan every single day. On busy days, swap the card or take a day off so the calendar stays a treat, not homework for you and your child.
When preparation isn’t realistic, swap in an activity with no extra materials
Leaving dates off the cards is exactly what makes swapping easy. Keep the number on the outside of the envelope and just replace the card inside, and for your child, “today’s envelope” stays the same.
If you don’t have time for a card that uses paper or craft supplies, switch it for one that needs no extra materials. Move the card you took out to a day when you’ll have more time, or keep it aside to use another day.
Even activities that need no materials can take longer than expected. On days when time is short, deciding in advance how the activity ends makes it easier to wrap up.
- No.12: finish once everyone has shared one thing
- No.5: finish after each person has copied once
- No.1: look for just one item
You don’t need to make up for missed days
There’s no need to catch up on missed cards the next day. It’s fine to have days when you just open the envelope and read the card, or simply say, “So that was today’s,” and leave it there.
You can also start whenever you like. If you begin partway through December, preparing envelopes for the remaining days is plenty. There’s no need to set a goal of using all 24 cards.
Don’t measure it by whether you made it through all 24 days
At TamagoDaruma, we don’t think the calendar’s success depends on using all 24 cards exactly as planned. If there were a few days when your child looked forward to opening an envelope, it has done its job.
We built in swaps and days off from the start so that the days you couldn’t keep up with don’t count as “failures.” Feel free to change how you use it to fit your family’s December.
Siblings can share the same cards and take different roles
Even with siblings, you don’t need a separate set of 24 cards for each child. Use the same cards and give each child a role that suits their age. In a color hunt, for example, the younger child can be the one who finds things, while the older child chooses which color to look for.
Taking turns opening the envelope each day is another option. Older siblings will naturally help younger ones at times, but don’t treat that as their expected job. Make sure there’s a role the older child can enjoy, too.
Frequently asked questions about DIY advent calendars
- Q. Can we still start if we’re not ready by December 1?
- Yes. Start whenever you’re ready, and prepare envelopes for the days that remain.
- Q. Can I make this without a printer?
- Yes. Copy the activities from the list onto paper by hand, and they become your cards. They don’t need to be exactly the same size, as long as they fit in the envelopes or bags.
- Q. Can I combine it with candy or small gifts?
- Of course. You might use activity cards every day and add candy on weekends, for example. Decide based on your own family’s rules.
If you’re adding small toys, don’t rely on the age label alone. Also check that no parts can come loose and that nothing is broken. Japan’s Consumer Affairs Agency notes that a 3-year-old’s mouth opening is about 4 cm (roughly 1.5 inches) in diameter, and that objects smaller than this can fit inside a child’s mouth and may be swallowed or cause choking. If you include items meant for an older child, keep them somewhere a younger sibling can’t reach.
(Source: Vol. 642: Beware of Children Swallowing Decorations and Gifts at Christmas and New Year | Consumer Affairs Agency, Government of Japan) - Q. Can siblings share one calendar?
- Yes. Give each child a different role with the same card, or take turns opening the envelope.
- Q. What if my child doesn’t want to do that day’s activity?
- Don’t push it. Swap in a different card, or take the day off. You could also put No.23, where your child picks a favorite activity to do again, in an earlier envelope.
To get started, write cards for the first few days, then fill the envelopes around your family’s schedule.
